
How to safely and effectively clean your pet’s ears
Your furry friend’s ears are not only exceptionally cute, but they’re also incredibly essential for their well-being. Keeping your pet’s ears clean and healthy is crucial to prevent infections and ensure optimal hearing function. However, cleaning delicate ear canals can be a daunting task for many new pet owners.
Fear not – we’ve got you covered! In this blog post, we’ll share the best tips and tricks on how to safely and effectively clean your pet’s ears at home. Say goodbye to sticky residue or unpleasant odors in those adorable floppy ears – let’s dive into it!
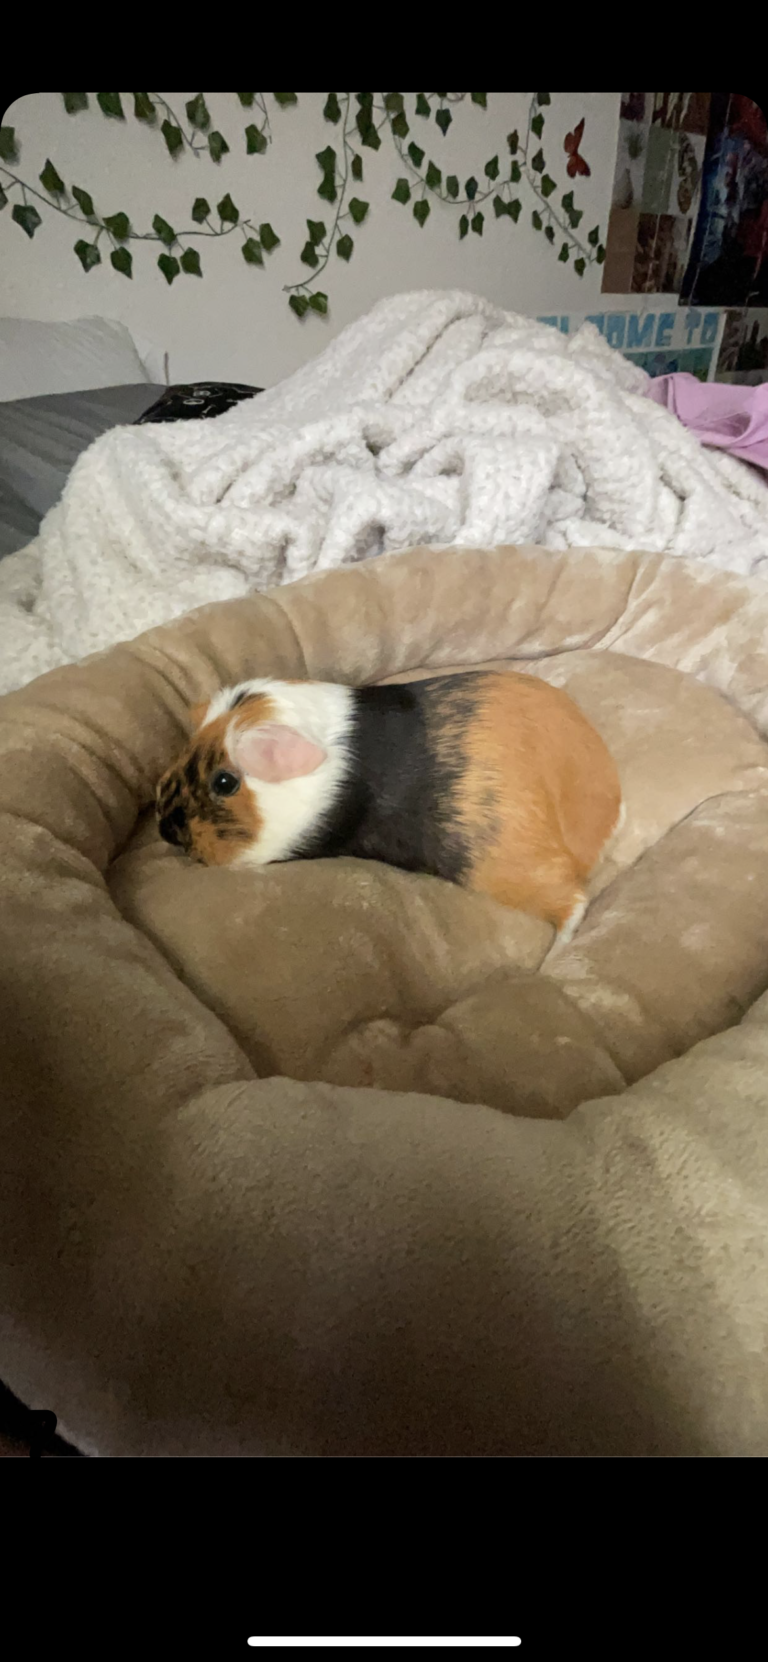
Common Ear Problems in Cats
There are several ear problems that can affect cats, some of which are more common than others. Here are a few examples:
Ear mites: These are tiny parasites that live in the ear canal and can cause itching, irritation, and inflammation. Ear mites are highly contagious and can be easily spread from one cat to another.
Ear infections: Cats can develop bacterial or yeast infections in their ears, which can be caused by a variety of factors such as allergies, foreign objects, or excessive ear wax.
Polyps: These are non-cancerous growths that can develop in the ear canal and cause irritation, inflammation, and sometimes infection.
Hematomas: A hematoma is a collection of blood that forms under the skin of the ear flap, often caused by head shaking or scratching. It can be quite painful for the cat.
Tumours: While less common, cats can develop tumours in their ears, which may require surgical removal.
Allergies: Cats can develop allergies to various things, including food, environmental allergens, or flea bites. Allergic reactions can cause inflammation and itchiness in the ears, leading to secondary infections.
Ear canal blockages: Sometimes foreign objects, such as grass or foxtails, can get lodged in a cat’s ear canal, causing pain, inflammation, and possibly infection.
Wax buildup: Excessive ear wax can accumulate in a cat’s ear canal, leading to irritation, infection, and foul odour.
Ototoxicity: Some medications and chemicals can be toxic to the ears and cause hearing loss, dizziness, or balance problems in cats.
Congenital deafness: Some cats may be born deaf due to a genetic abnormality, which can lead to communication and behavioral issues if not identified early on.
As with any health concerns, it’s important to consult with your veterinarian if you notice any signs of ear problems in your cat.
What are the ear cleaning essentials?
There are a few key things to keep in mind when cleaning your pet’s ears: avoid any water or abrasive materials, use a cotton ball and some ear drops, and do it regularly. Here are the essentials for ear cleaning:
Avoid water or abrasive materials: Water can potentially drown your pet’s ears in liquid, and abrasives can damage the delicate outer layer of the ear canal. Instead, use a cotton ball dipped in ear drops to clean them safely and gently.
Clean them regularly: It’s important to keep your pet’s ears clean not just when they start to smell bad, but periodically throughout the year to prevent build-up of wax and dirt. Take care to wet the outside of the ear first before using the cotton ball, then insert it gently into the canal until you reach the eardrum. Gently twist it around until all of the dirt and wax has been removed.
Gather supplies: You will need a few supplies to clean your cat’s ears, including a cat-specific ear cleaning solution, cotton balls or gauze pads, and possibly some treats to reward your cat for good behavior.
Inspect the ears: Before you begin cleaning, inspect your cat’s ears for any signs of redness, discharge, or unusual odor. If you notice any abnormalities, it’s best to consult with your veterinarian before cleaning.
Apply ear cleaning solution: Hold your cat’s head steady and apply a few drops of the ear cleaning solution into the ear canal. Gently massage the base of the ear to help distribute the solution throughout the ear canal.
Wipe away debris: Use a cotton ball or gauze pad to gently wipe away any debris or excess ear cleaning solution from the ear. Be careful not to insert the cotton ball too far into the ear canal, as this can cause injury.
Repeat on other ear: Repeat the process on the other ear, using a new cotton ball or gauze pad for each ear.
Reward your cat: After you’re done cleaning your cat’s ears, reward them with a treat or praise to help make the experience a positive one.
It’s important to note that not all cats will tolerate ear cleaning, and some may even become aggressive or fearful. If your cat resists or becomes aggressive during ear cleaning, it’s best to consult with your veterinarian for guidance on how to proceed.
Additionally, if you notice any signs of pain, discomfort, or unusual behavior after ear cleaning, contact your veterinarian right away.
How to Clean Your Cat’s Ear
There are a few specific ways to clean your dog’s ears using a Q-tip and some ear cleaner. If your dog has an infection in their ear, you will need to go see a veterinarian. To clean the external portion of the ear, use a Q-tip and gentle ear cleaner to clean around the outer edge of the ear lobe. Use a Q-tip to flick any wax or dirt off of the outside of the eardrum.
Be sure to wipe from front to back and top to bottom so all surfaces are covered. Repeat on other side. Use an Earlobe flush Pet Ear Cleaner and damp q-tip to clean inside of ear canal. Avoid using too much pressure while cleaning as this can cause damage.
If your dog has an infection in their ear, you will need to go see a veterinarian.
How to safely clean your cat’s ears
Cleaning your cat’s ears is an important part of keeping them healthy. Follow these steps to safely and effectively clean your feline friend’s ears:
- Clean the outside of your cat’s ears with a mild soap solution. Be sure to rinse thoroughly so that any excess soap doesn’t irritate the skin.
- If you notice any wax buildup, use a ear cleaner that is specifically designed for removing wax and debris from fur ears. Avoid using over-the-counter ear cleaners, which can be harsh and could cause irritation or inflammation in your cat’s ears.
- After cleaning the outside of your cat’s ears, it’s time to examine the inside of their ear canals. Remove any excess wax and debris with a cotton ball or q-tip, then clean with a special ear cleaner if necessary.
- Apply a topical ointment such as Otomax or Eukanuba Ear+Treatment to keep the ears dry and free from infection.
- Repeat steps 2-4 as needed, depending on how often your cat gets infected ears.
Prevention is key when it comes to keeping your cat’s ears clean and healthy, so always make sure to follow these steps when cleaning their ears.
If problems do arise, be sure to seek veterinary help as soon as possible.
Conclusion
After reading this article, you will know how to safely clean your pet’s ears and prevent infection. Proper ear cleaning is an important step in preventing otitis media (a common condition caused by bacteria entering the ear canal), as was stated earlier in this article.
Not only are ears susceptible to common household allergens such as dander, but they can also be a main site of viral entry into the body. After thorough cleaning of all external surfaces of the ear including the eardrum and surrounding cartilage with a proper detergent and warm water, drying should be done with a soft cloth or paper towel.
Finally, apply cotton balls to each side of the nose just behind the nostrils (these will help carry away any excess moisture). This is one informative article on how to clean your pet’s ears that everyone should read!